Hip Thrust vs. Glute Bridge: Which Builds More Glutes? (The Definitive Guide)
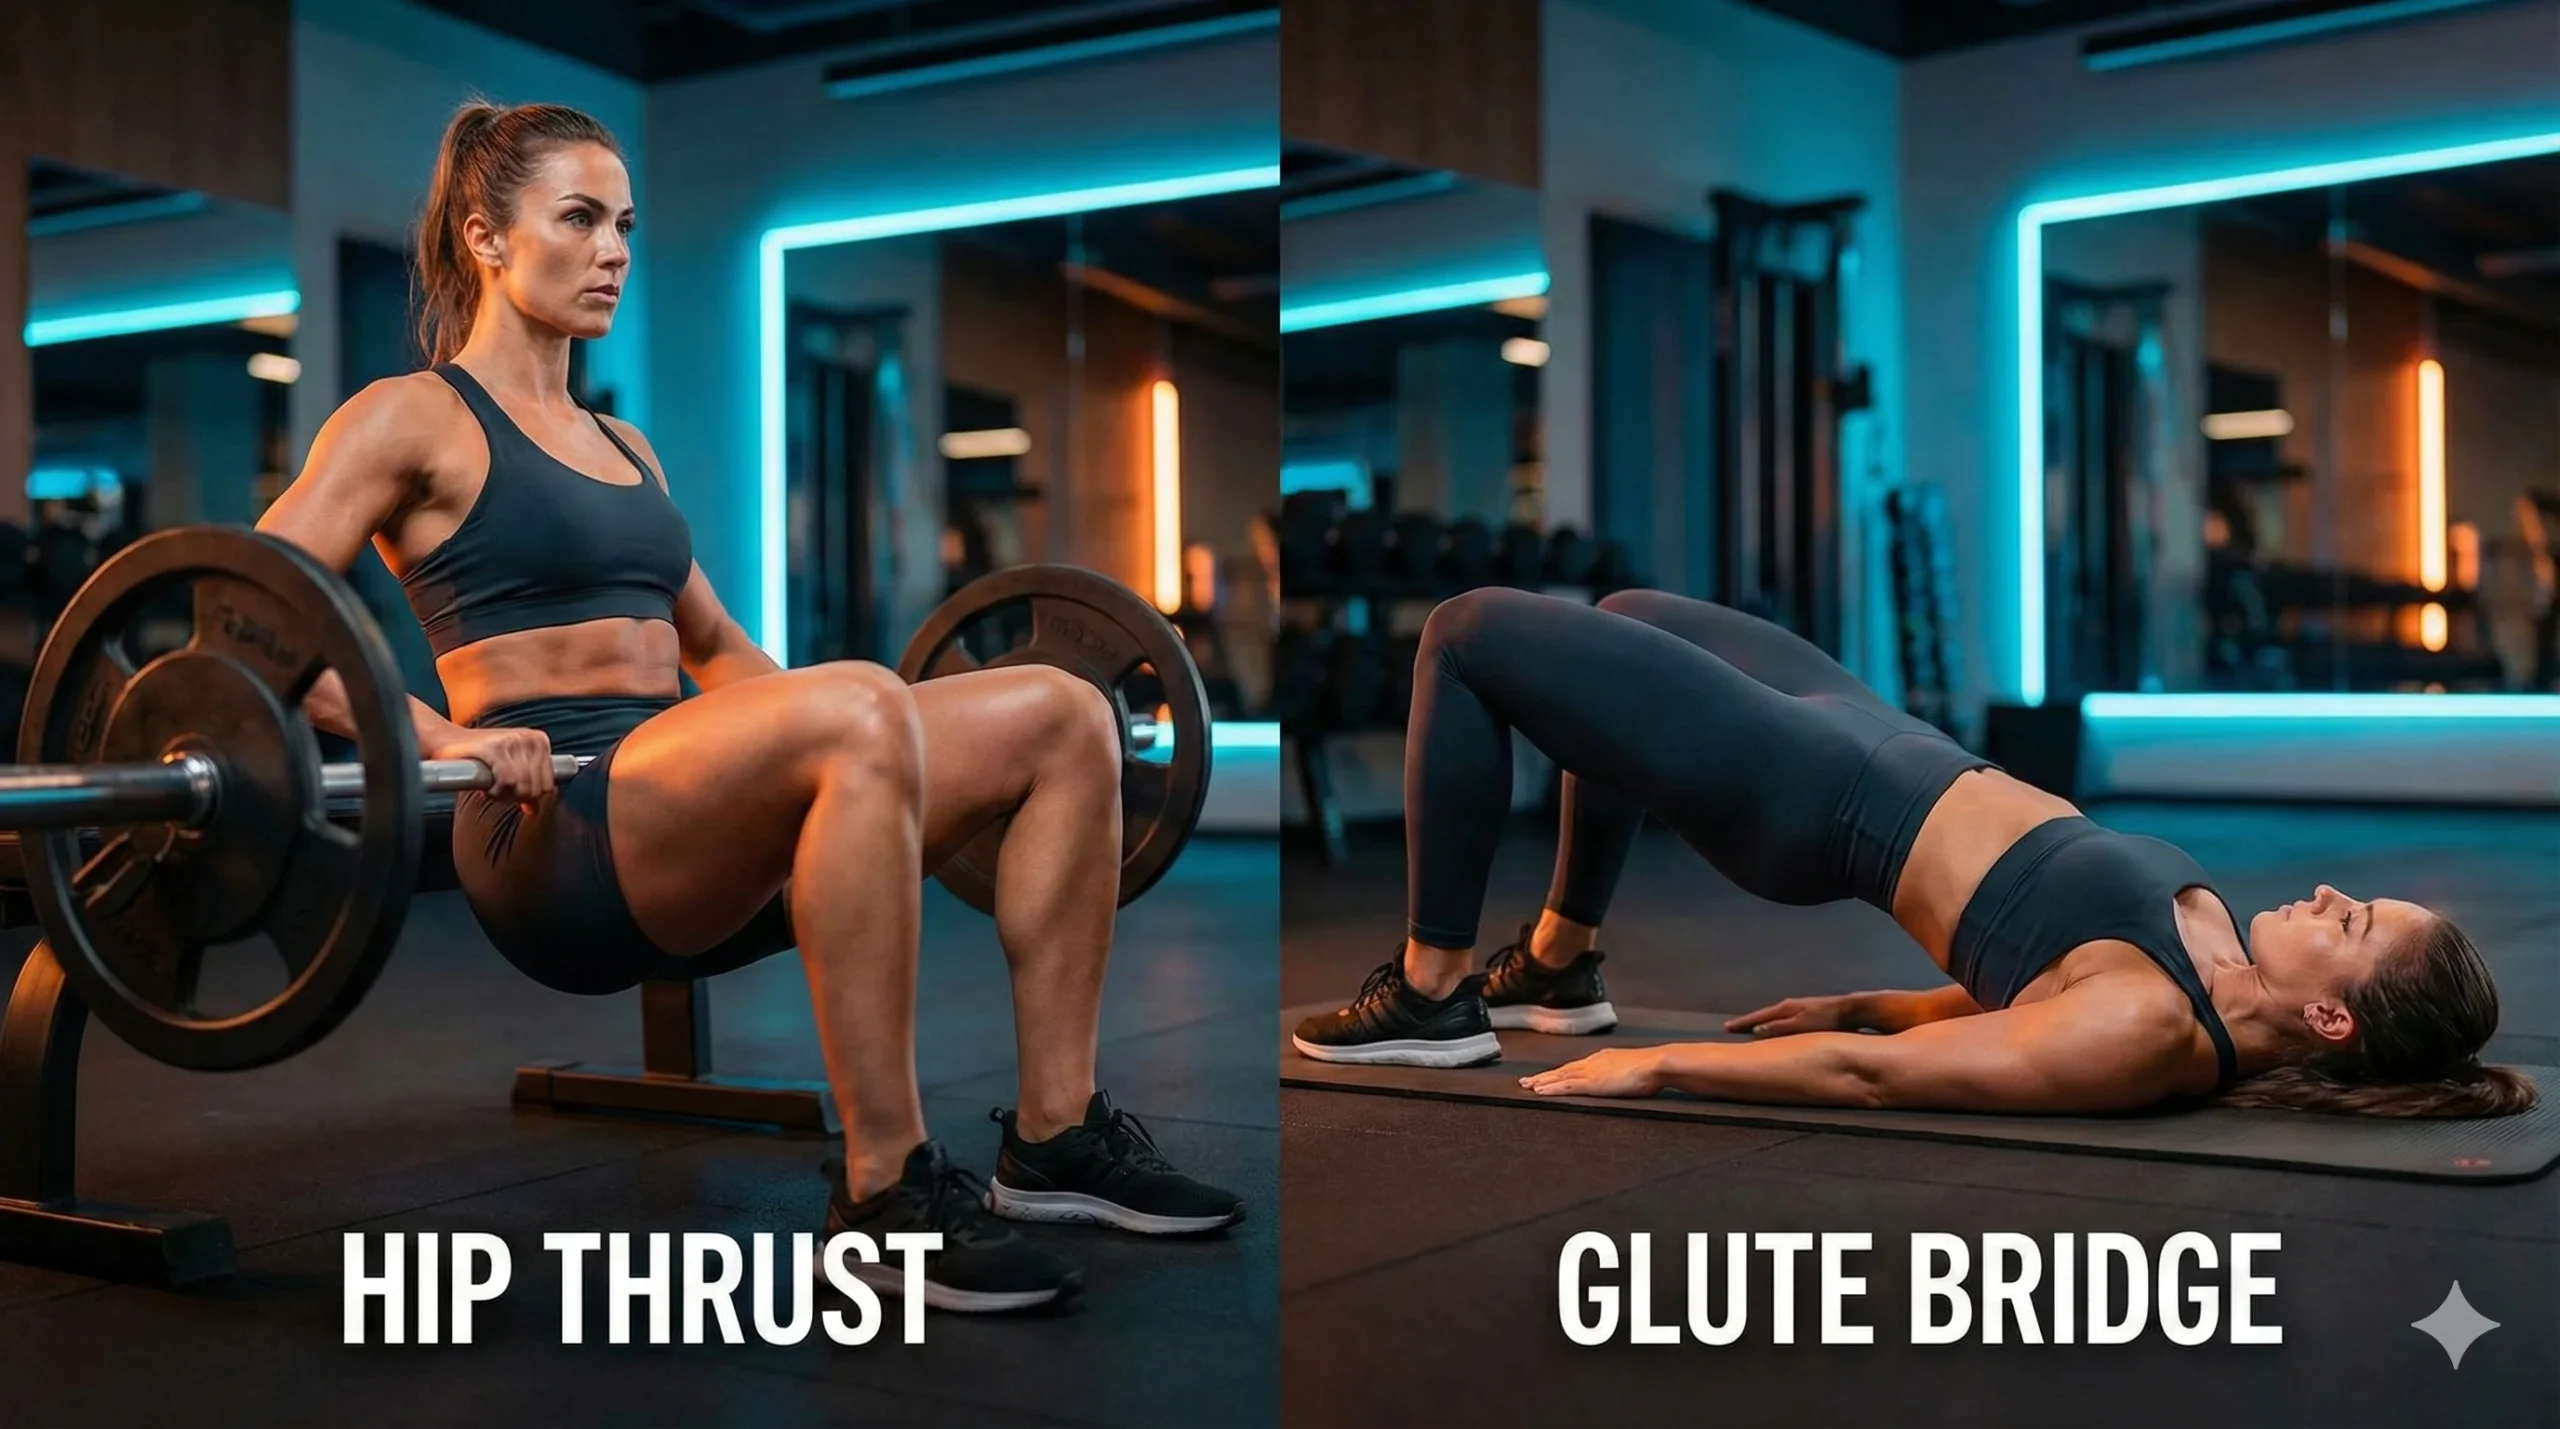
If you walk into any gym today, you will see people thrusting heavy barbells against a bench or bridging on the floor mats. The debate is eternal: Hip Thrust vs. Glute Bridge.
Both exercises target the glutes, but they are not created equal.
The Short Answer: Which One Wins for Hypertrophy?
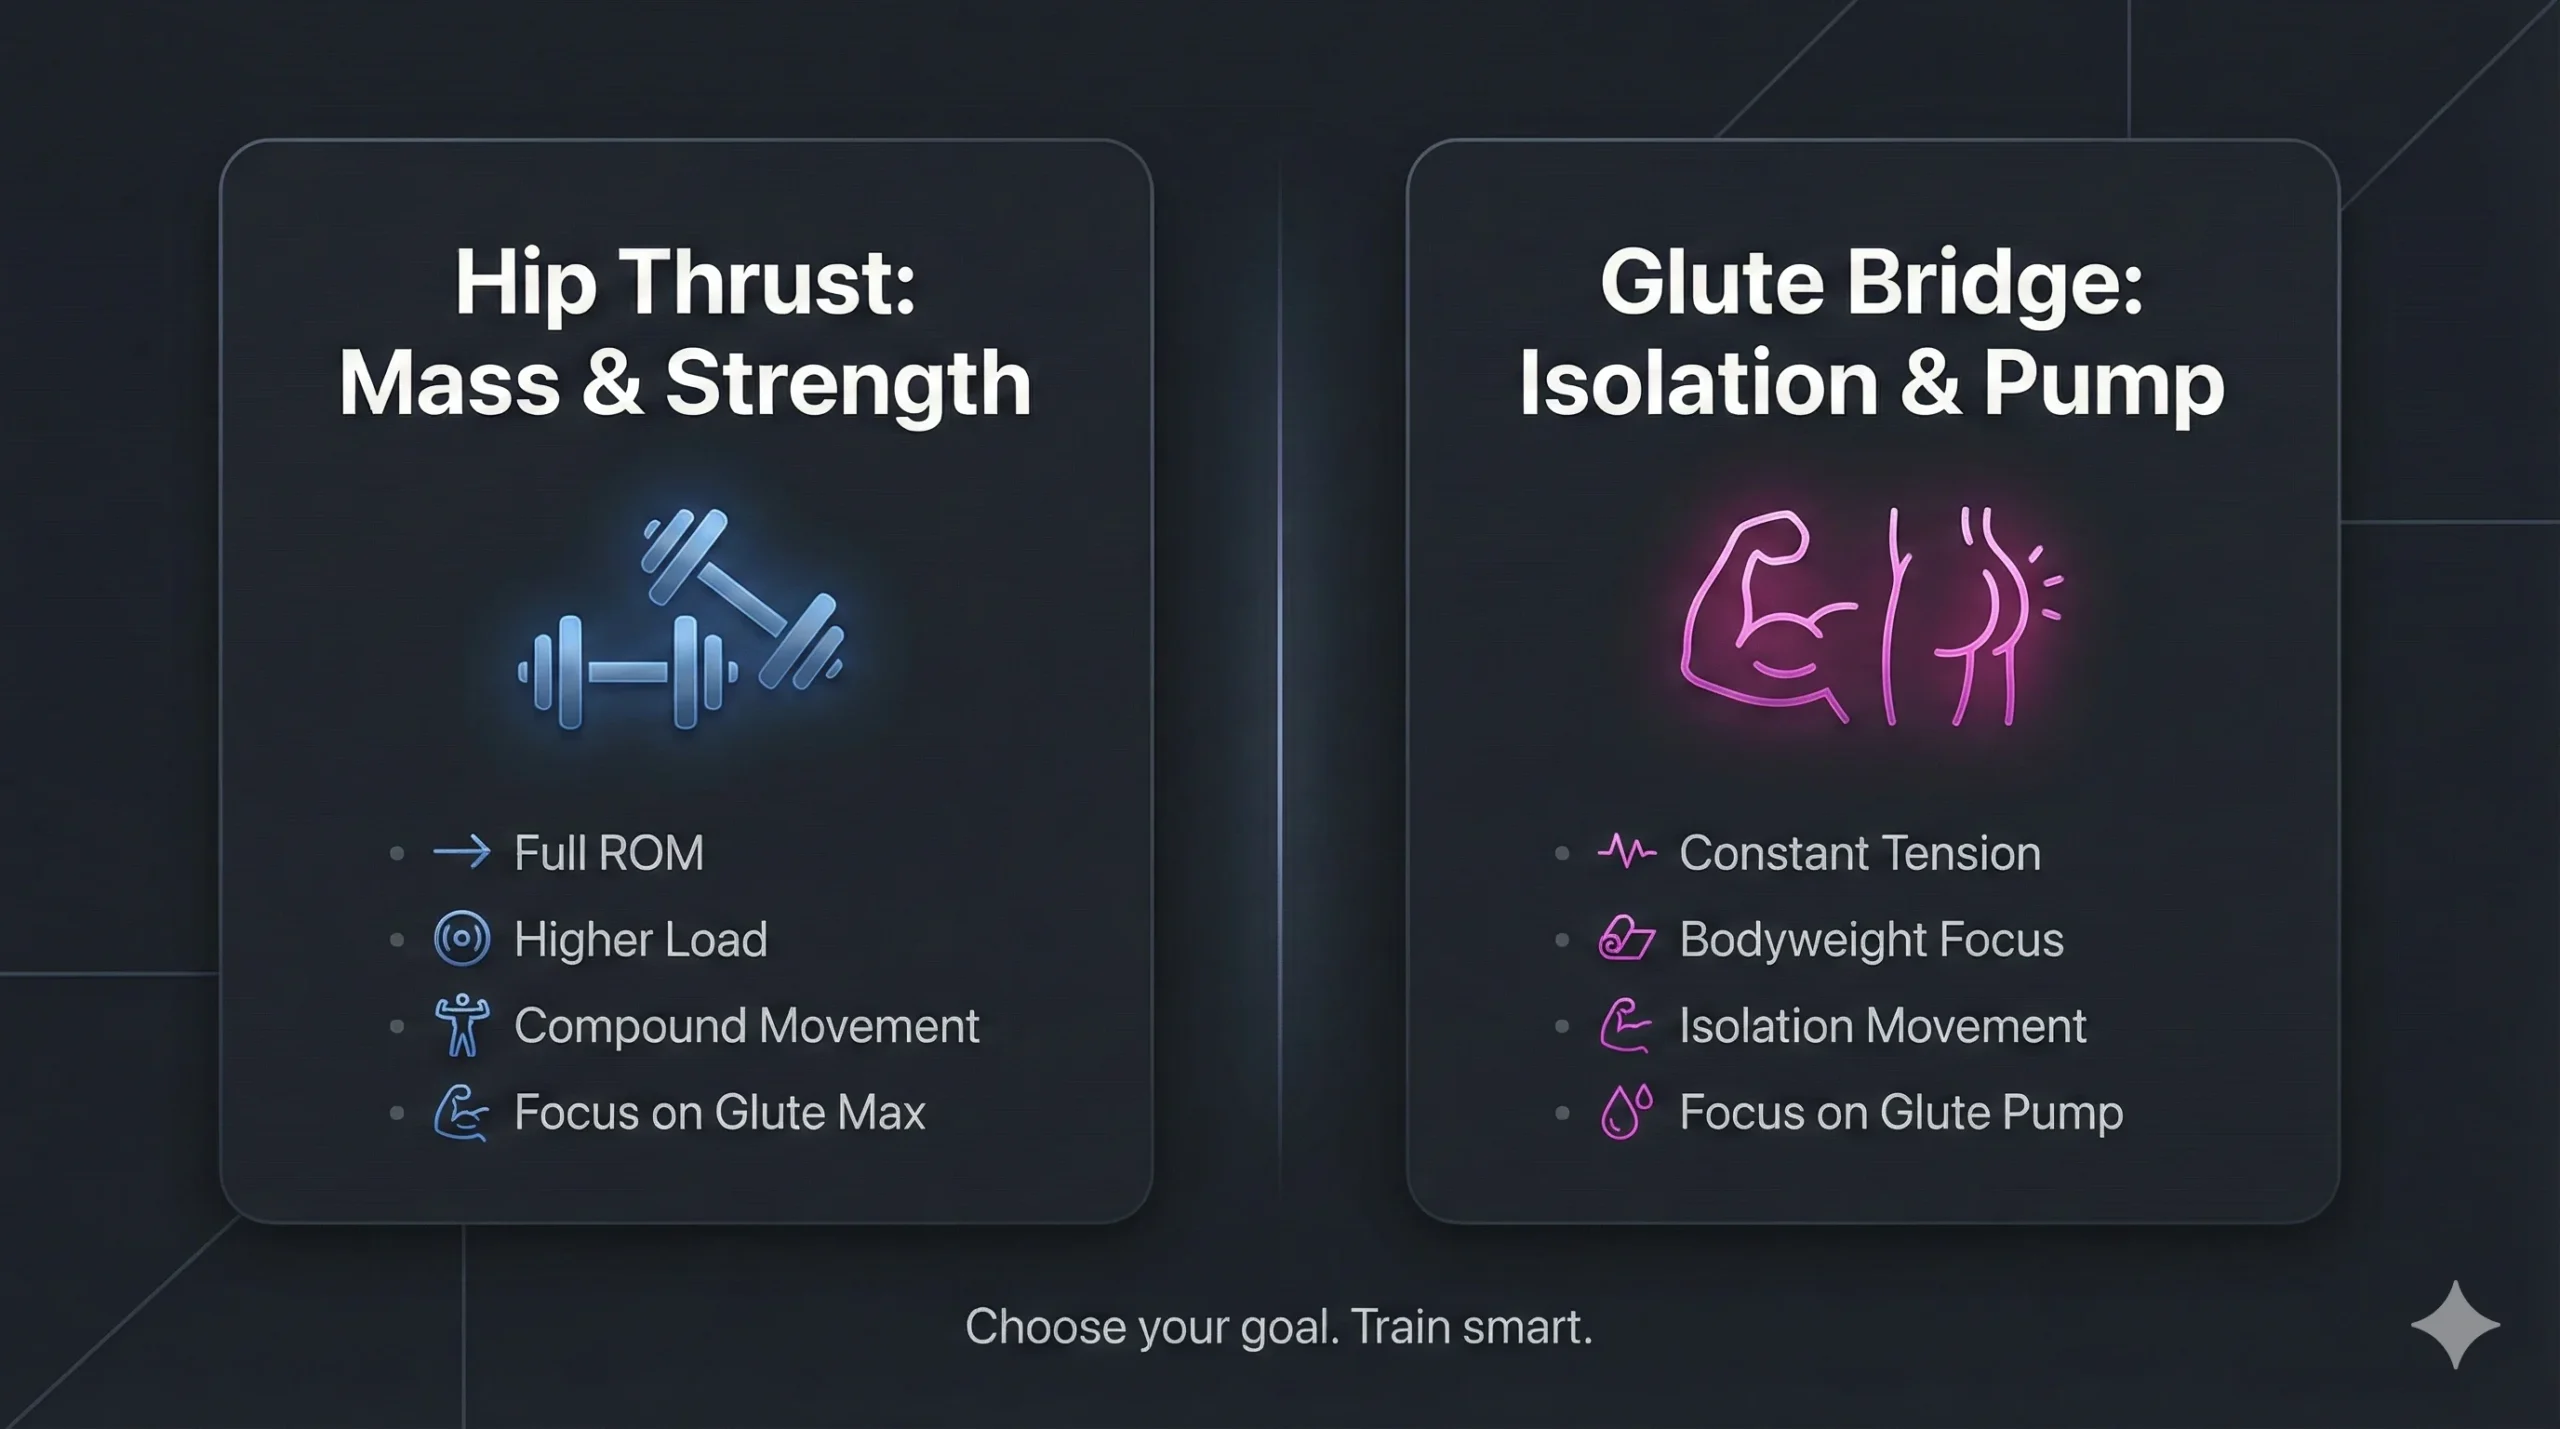
If we are talking strictly about building muscle mass (volume), the winner is the Hip Thrust.
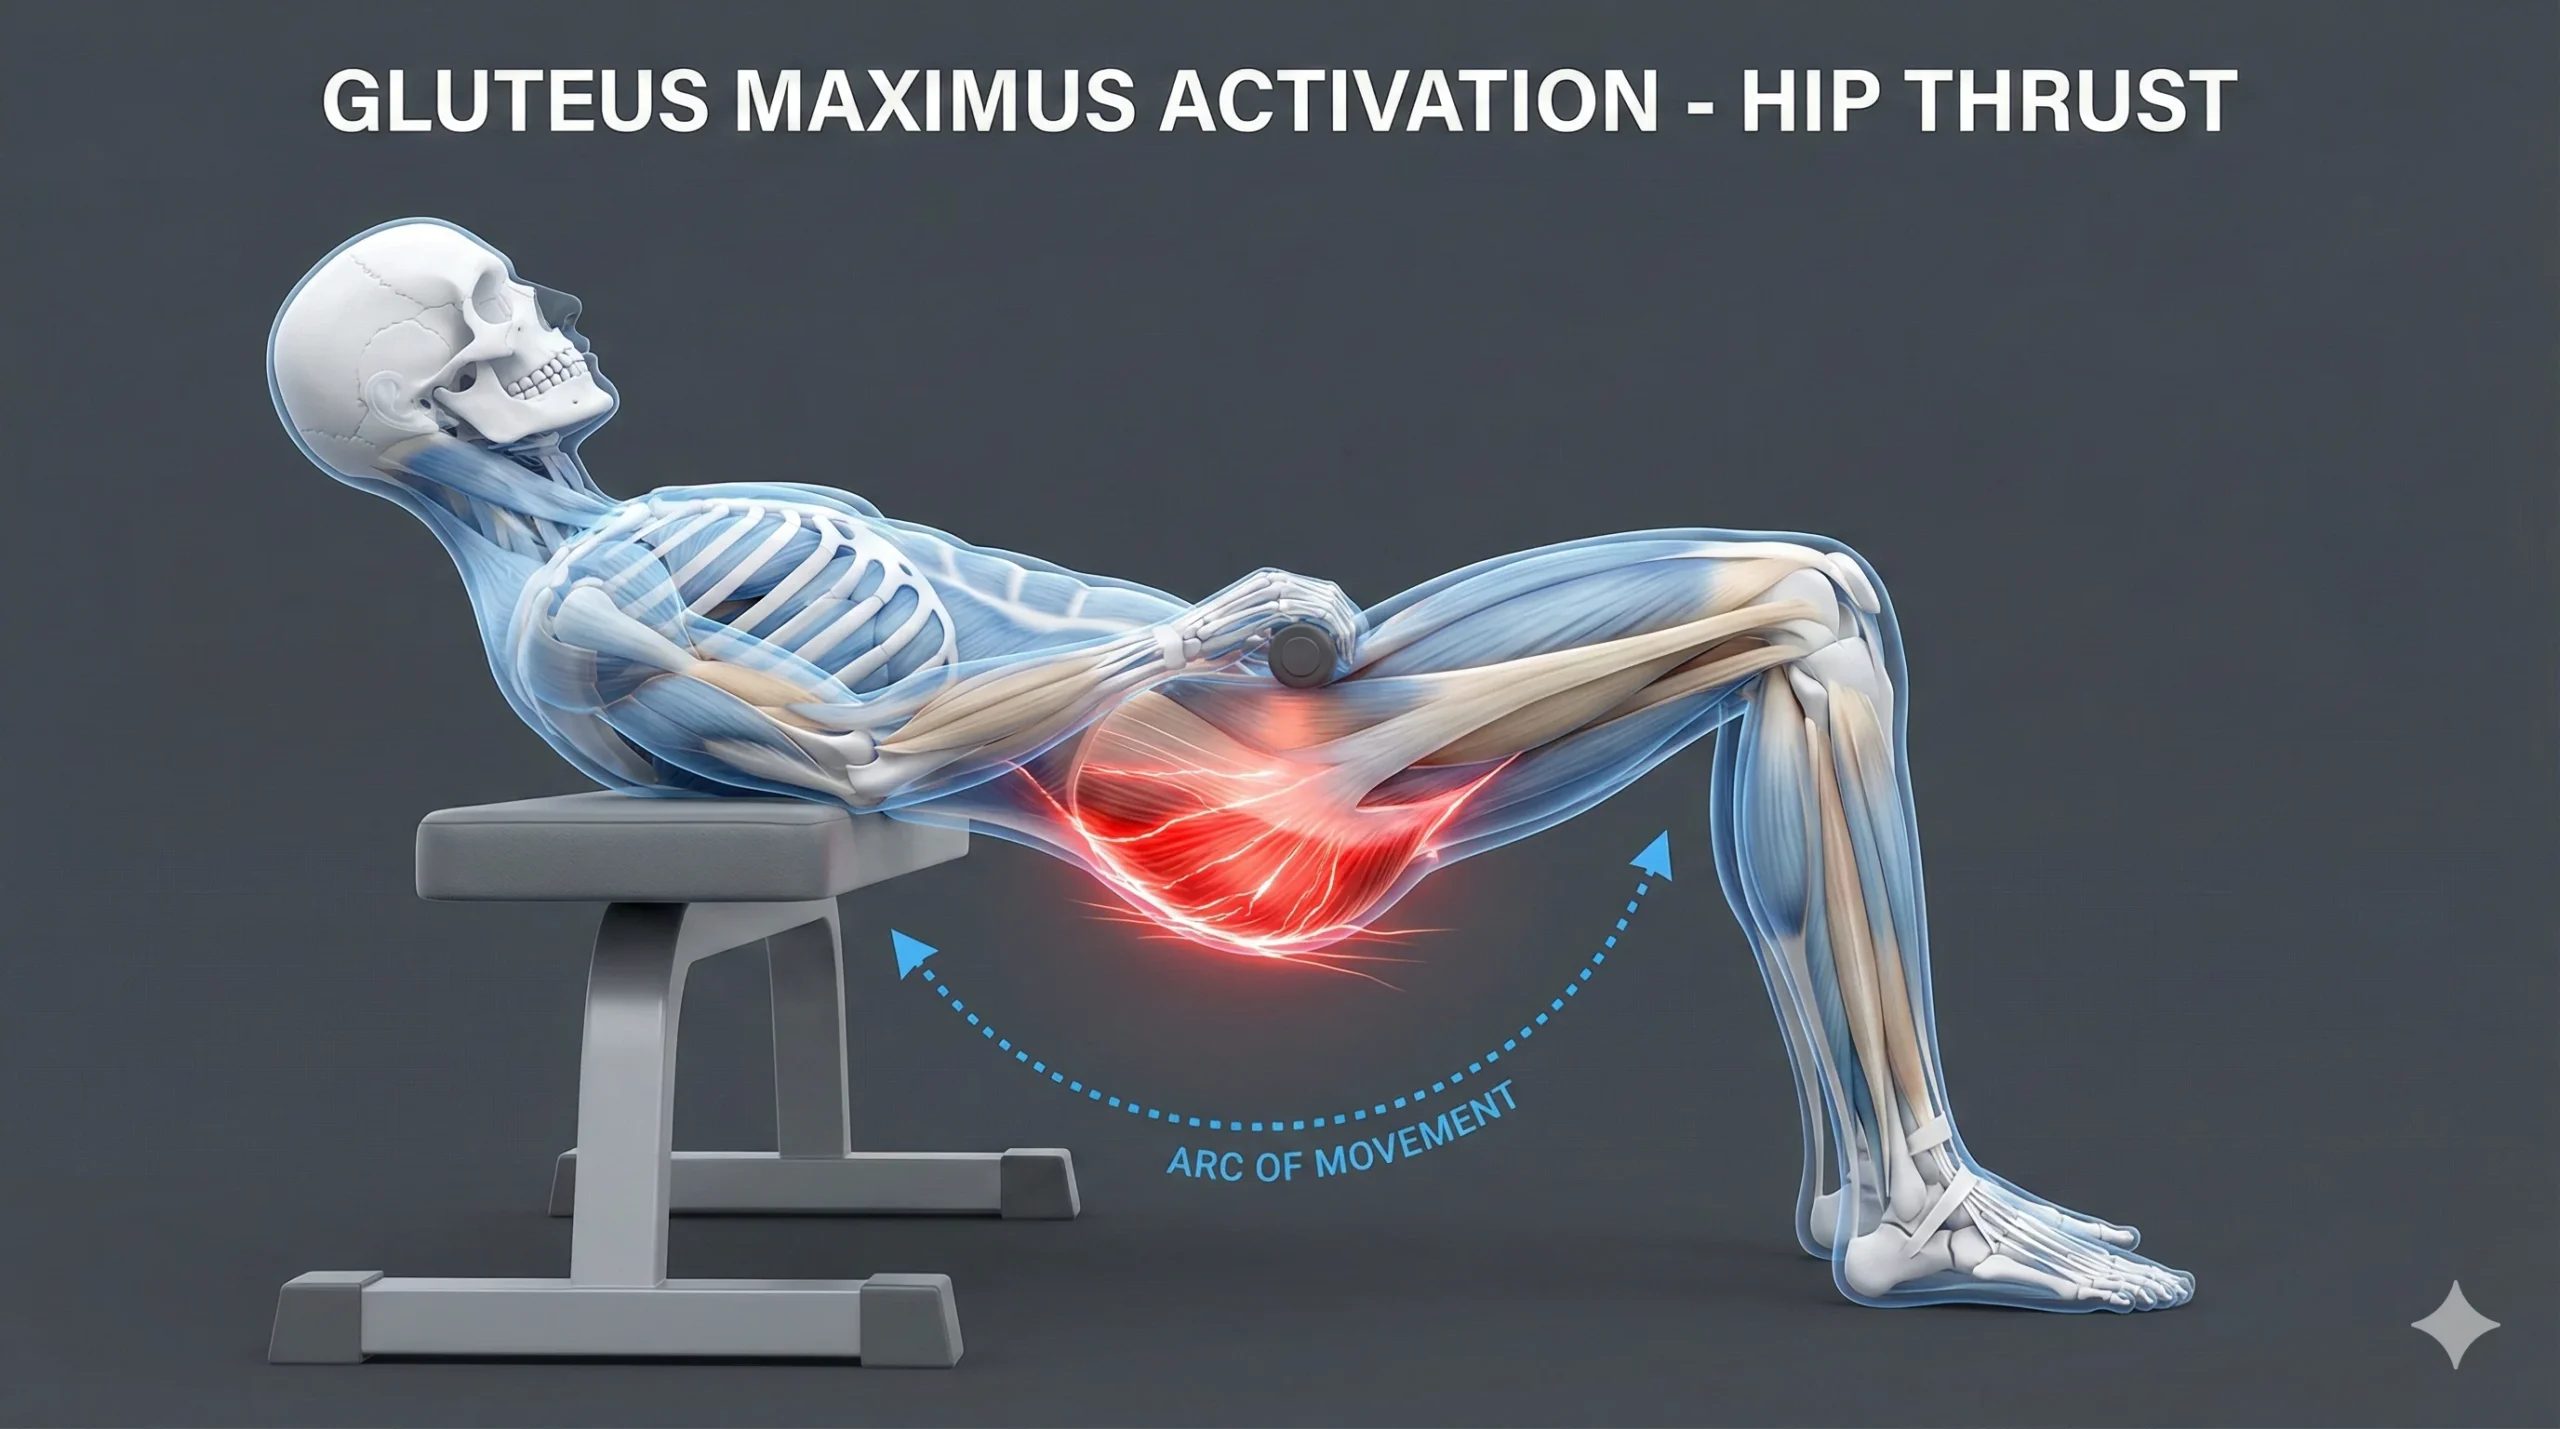
Why? It comes down to Range of Motion (ROM). In a Hip Thrust, your back is elevated on a bench, allowing your hips to travel a much greater distance than they do from the floor. This deep range of motion stretches the glute fibers under load.
Biomechanically, stretching a muscle under significant weight is a superior stimulus for hypertrophy compared to the shorter range of the Glute Bridge.
However, that doesn’t mean the Glute Bridge is useless. As we will see, it has a specific place in your routine.
🆚 Comparison Table: At a Glance
Before diving deep, here is a quick comparison to help you decide what you need right now.
| Feature | Hip Thrust | Glute Bridge |
| Primary Goal | Max Hypertrophy & Strength | Glute Isolation & Activation |
| Range of Motion (ROM) | Large (High stretch under load) | Short (Focus on peak contraction) |
| Load Potential | Very High (Easy to load 100kg+) | Low to Moderate |
| Muscle Activation | Glutes, but recruits Quads/Hamstrings | Pure Glute (Less leg involvement) |
| Complexity | High (Requires setup, bench, balance) | Low (Floor only, beginner-friendly) |
| Best Rep Range | 6–10 Reps (Heavy) | 15–20+ Reps (Pump/Burn) |
Biomechanical Differences: Why ROM Changes Everything
Hip Thrust: The King of Mechanical Tension
The Hip Thrust allows for progressive overload.
Glute Bridge: Isolation and “The Burn”
The Glute Bridge is performed lying on the floor.
Execution Guide: Expert Tips to Stop Feeling it in Your Legs
Even the best exercise is useless if you do it wrong. Through analyzing common failure points, I’ve identified a few “Game Changers” that fix form instantly. If you feel this in your quads or lower back, apply these tweaks immediately.
1. The “Chin Tuck” (Protect Your Back)
The most common error I see is people throwing their head back to look at the ceiling. This hyperextends the spine and engages the lower back.
-
The Fix: Keep your chin glued to your chest, creating a “double chin.”
-
The Cue: Imagine you are holding a tennis ball under your chin. Look at your knees throughout the entire movement. This locks your ribcage down, protects your lumbar spine, and forces the glutes to do the lifting.
2. Vertical Shins (The Golden Rule)
Your foot placement dictates which muscle does the work. When you reach the top of the movement (full extension), look at your shins (tibias).
-
Vertical Shins (90°): This is the sweet spot for Glutes.
-
Feet too far forward: You will feel it in your Hamstrings.
-
Feet too close to butt: You will feel it in your Quads.
Pro Tip: Try a stance slightly wider than shoulder-width and turn your toes out about 45 degrees. This simple adjustment fires up the Glute Medius (upper/side glute) much more effectively than a narrow stance.
Hip Thrust vs. Kas Glute Bridge vs. Standard Bridge
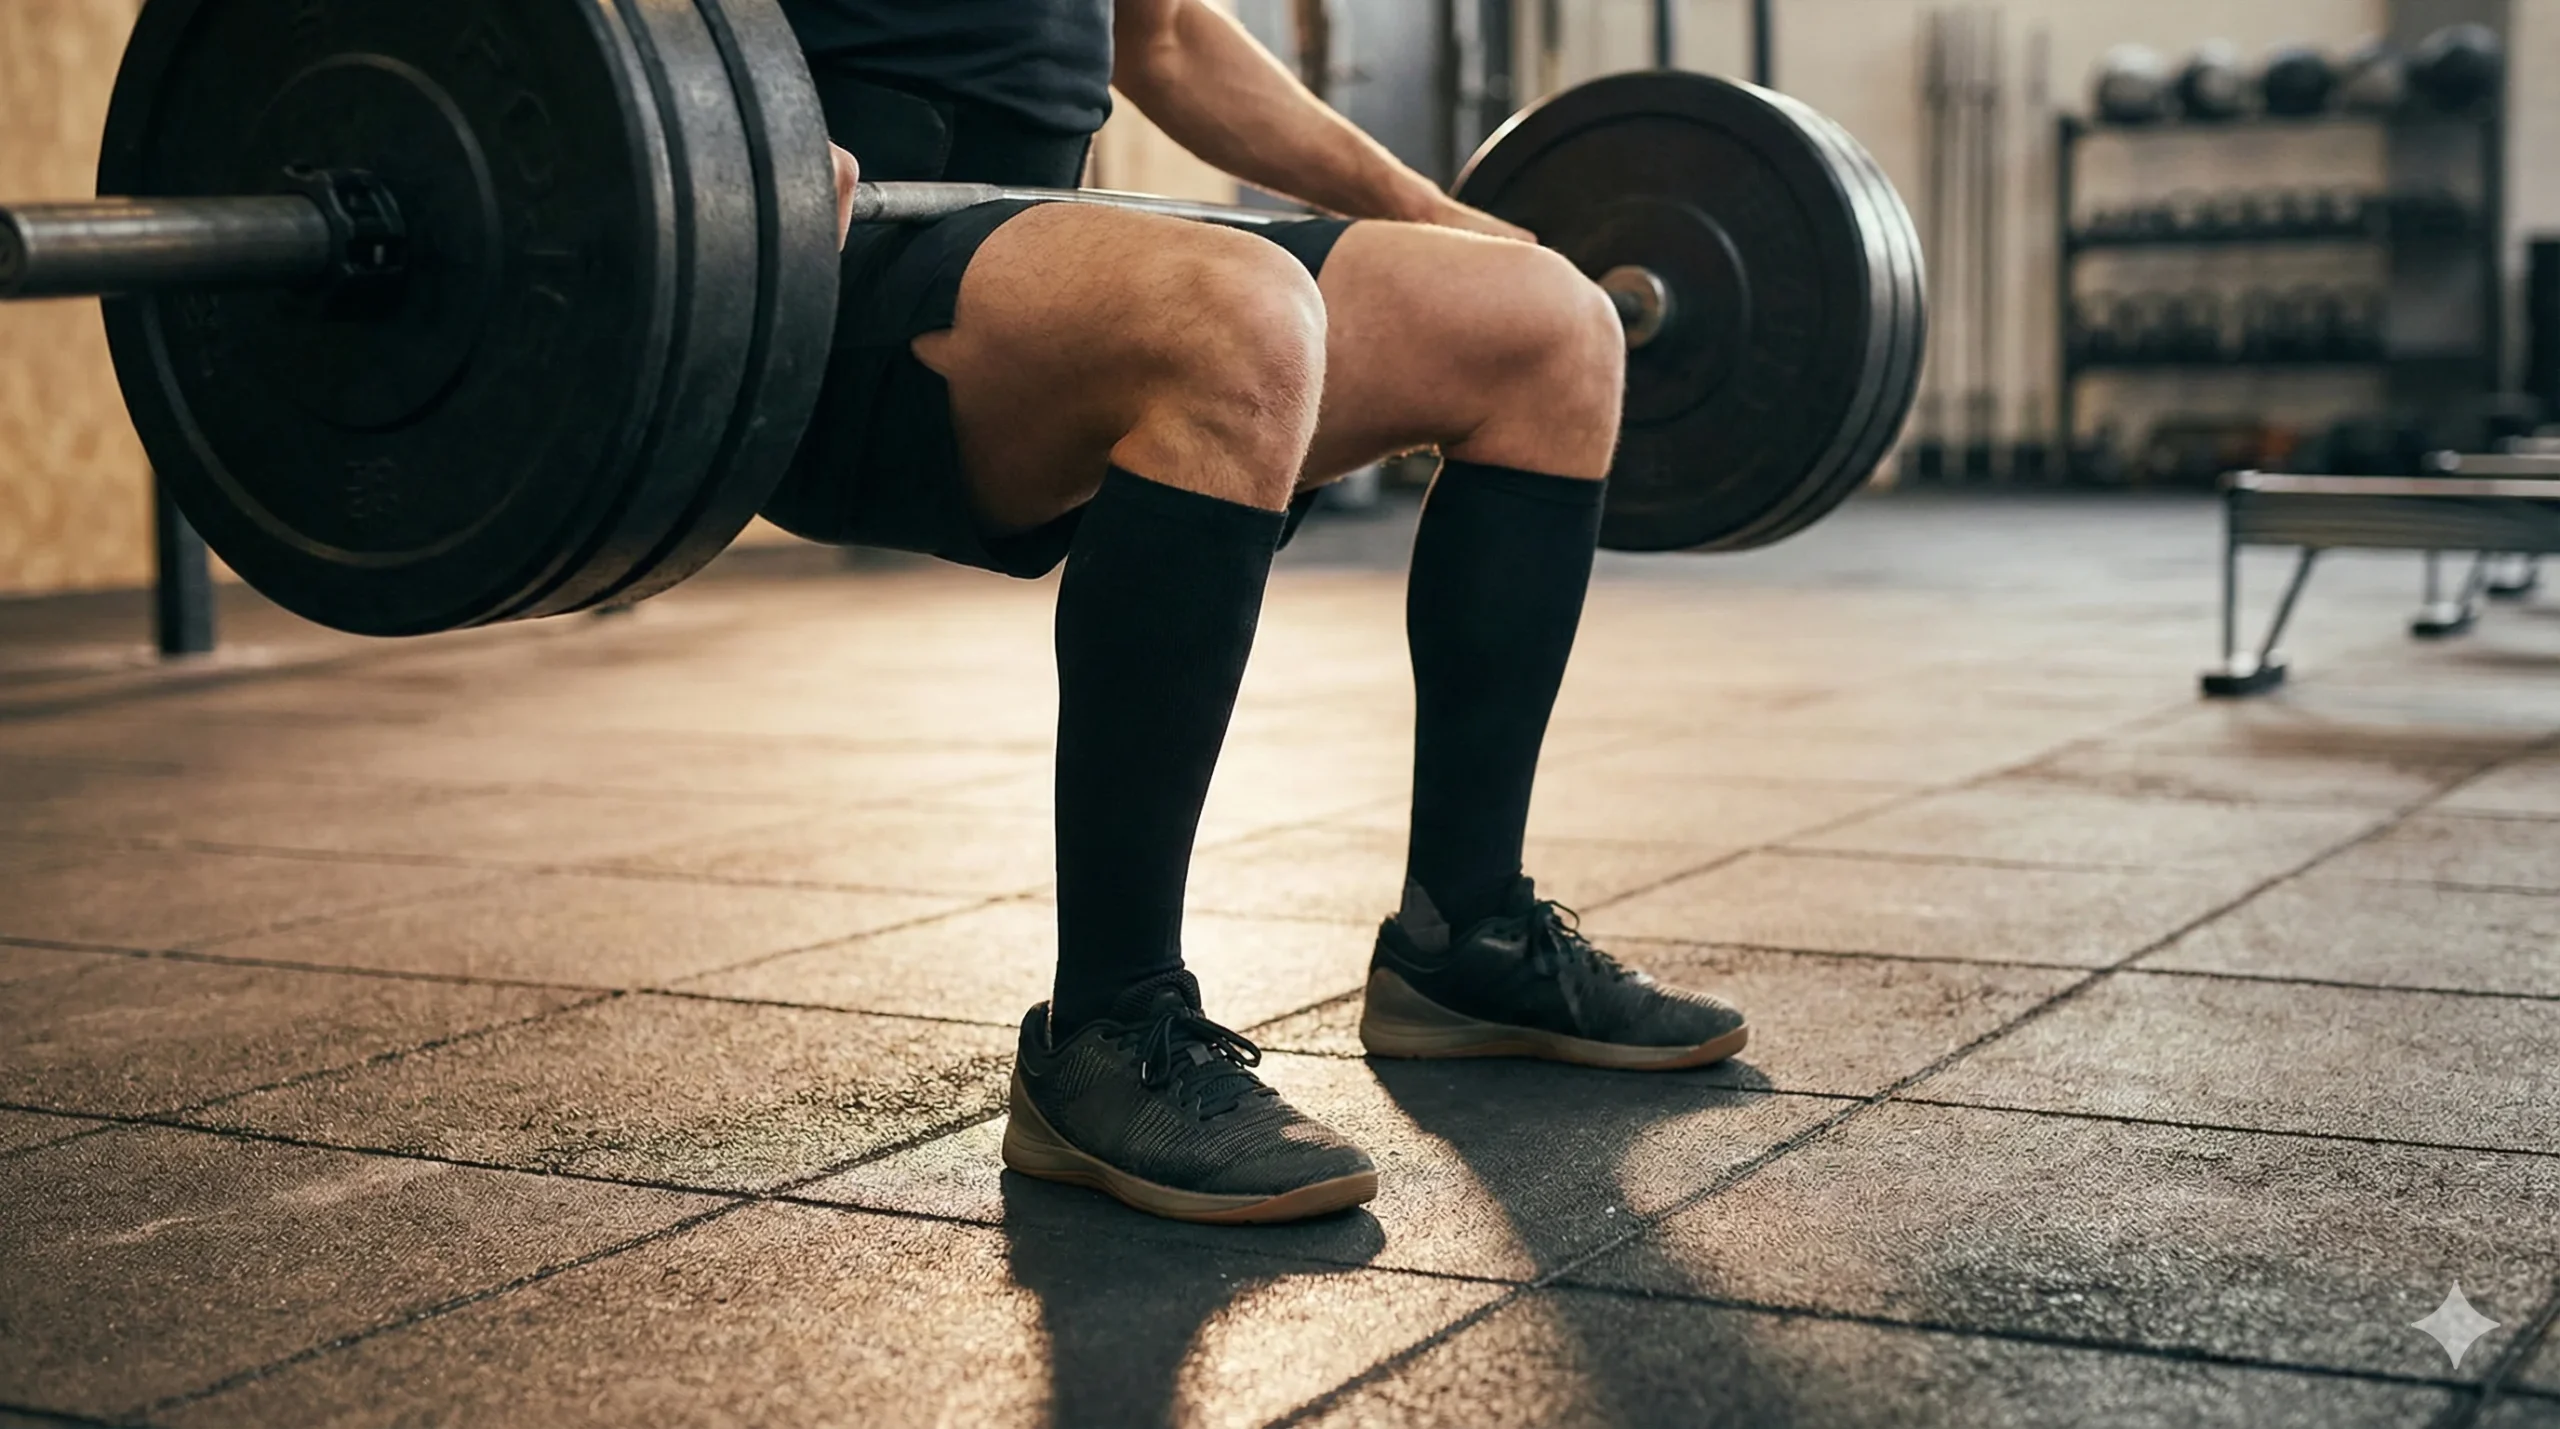
You might have heard of the “Kas Glute Bridge”. It’s a trendy hybrid that sits right in the middle.
-
Setup: Like a Hip Thrust (on a bench).
-
Execution: Like a Glute Bridge (partial range).
In a Kas Bridge, you use the bench setup but only perform the top 30-40% of the movement. You don’t go all the way down. This keeps tension on the glutes 100% of the time. It is absolutely brutal for finishing a workout because the muscle never gets a rest period at the bottom.
Programming Strategy: How to Combine Them
You don’t have to choose just one. In fact, for a complete physique, you shouldn’t. Based on the strengths of each, here is how I would structure a glute-focused leg day:
1. The “Main Dish”: Hip Thrust
Do this first in your routine when you are fresh.
-
Goal: Strength and Tissue Breakdown.
-
Reps: 6 to 10 reps.
-
Load: Heavy. Focus on moving weight and beating your numbers from last week.
2. The “Dessert”: Glute Bridge (or Kas Bridge)
Do this at the end of your routine.
-
Goal: Metabolic Stress and Pump.
-
Reps: 15 to 20 reps (or until failure).
-
Load: Light weight, dumbbell, or a high-resistance band.
-
Focus: Squeeze as hard as possible at the top. Since it’s easier to stabilize, you can safely push to failure without risking injury.
🛍️ Buying Guide: 3 Essentials for Glute Training
To execute these movements safely and effectively (especially the Hip Thrust), you need the right gear. Here are the top 3 things to consider before outfitting your home gym or gym bag:
- A High-Density Barbell Pad: Never do heavy thrusts without one. A standard foam pad is okay, but a high-density, contoured pad protects your hips from bruising when you start lifting over 135lbs. Look for “non-slip” Velcro straps.
- Fabric Resistance Bands (Loop Bands): Rubber bands roll up and pinch skin. Get thick, fabric “booty bands”. Using these around your knees during bridges forces you to push your knees out, recruiting the Glute Medius significantly more.
- A Stable Bench or Box: If training at home, your couch might be too soft (absorbing force) or too high. Ensure you have a plyo box or bench that sits roughly 14-16 inches high—this is the biomechanically optimal height for most people.
🍑 Hip Thrust Essentials
To execute movements safely and effectively (especially the Hip Thrust), you need the right gear. Here are the top 3 things to consider before outfitting your home gym.
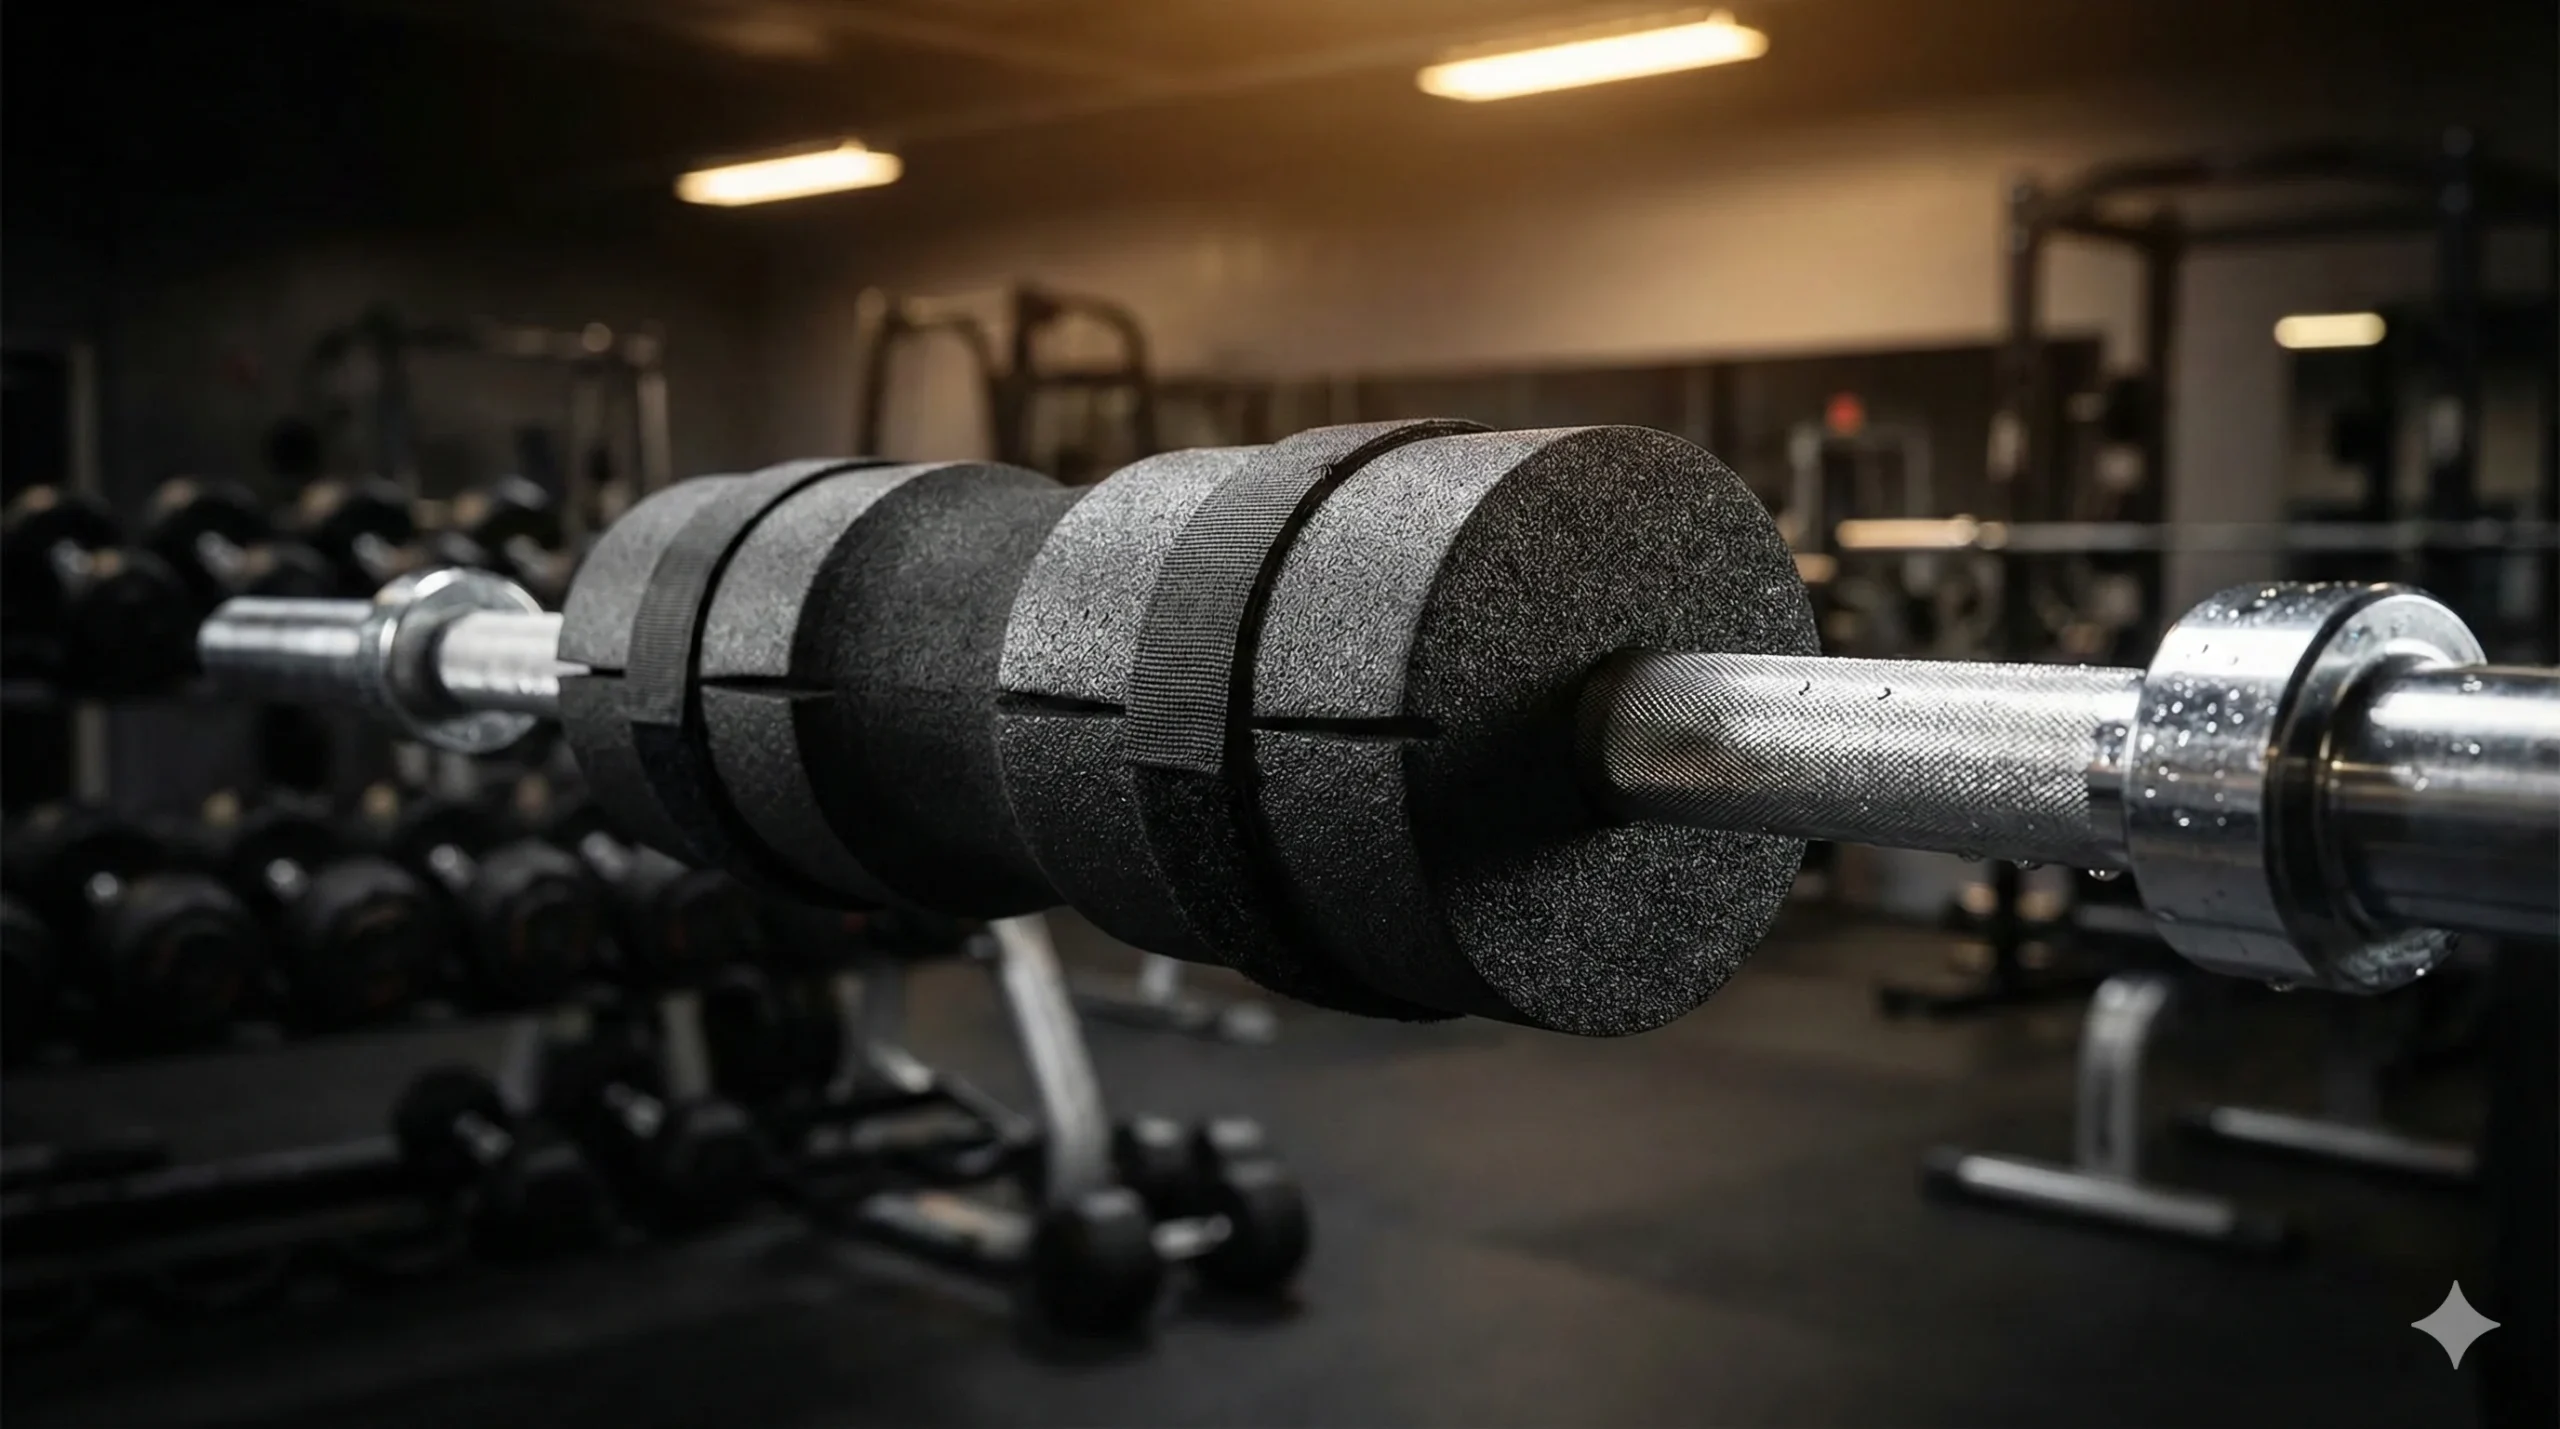
High-Density Barbell Pad
Never do heavy thrusts without one. A high-density, contoured pad protects your hips from bruising when lifting over 135lbs. Look for "non-slip" Velcro straps.
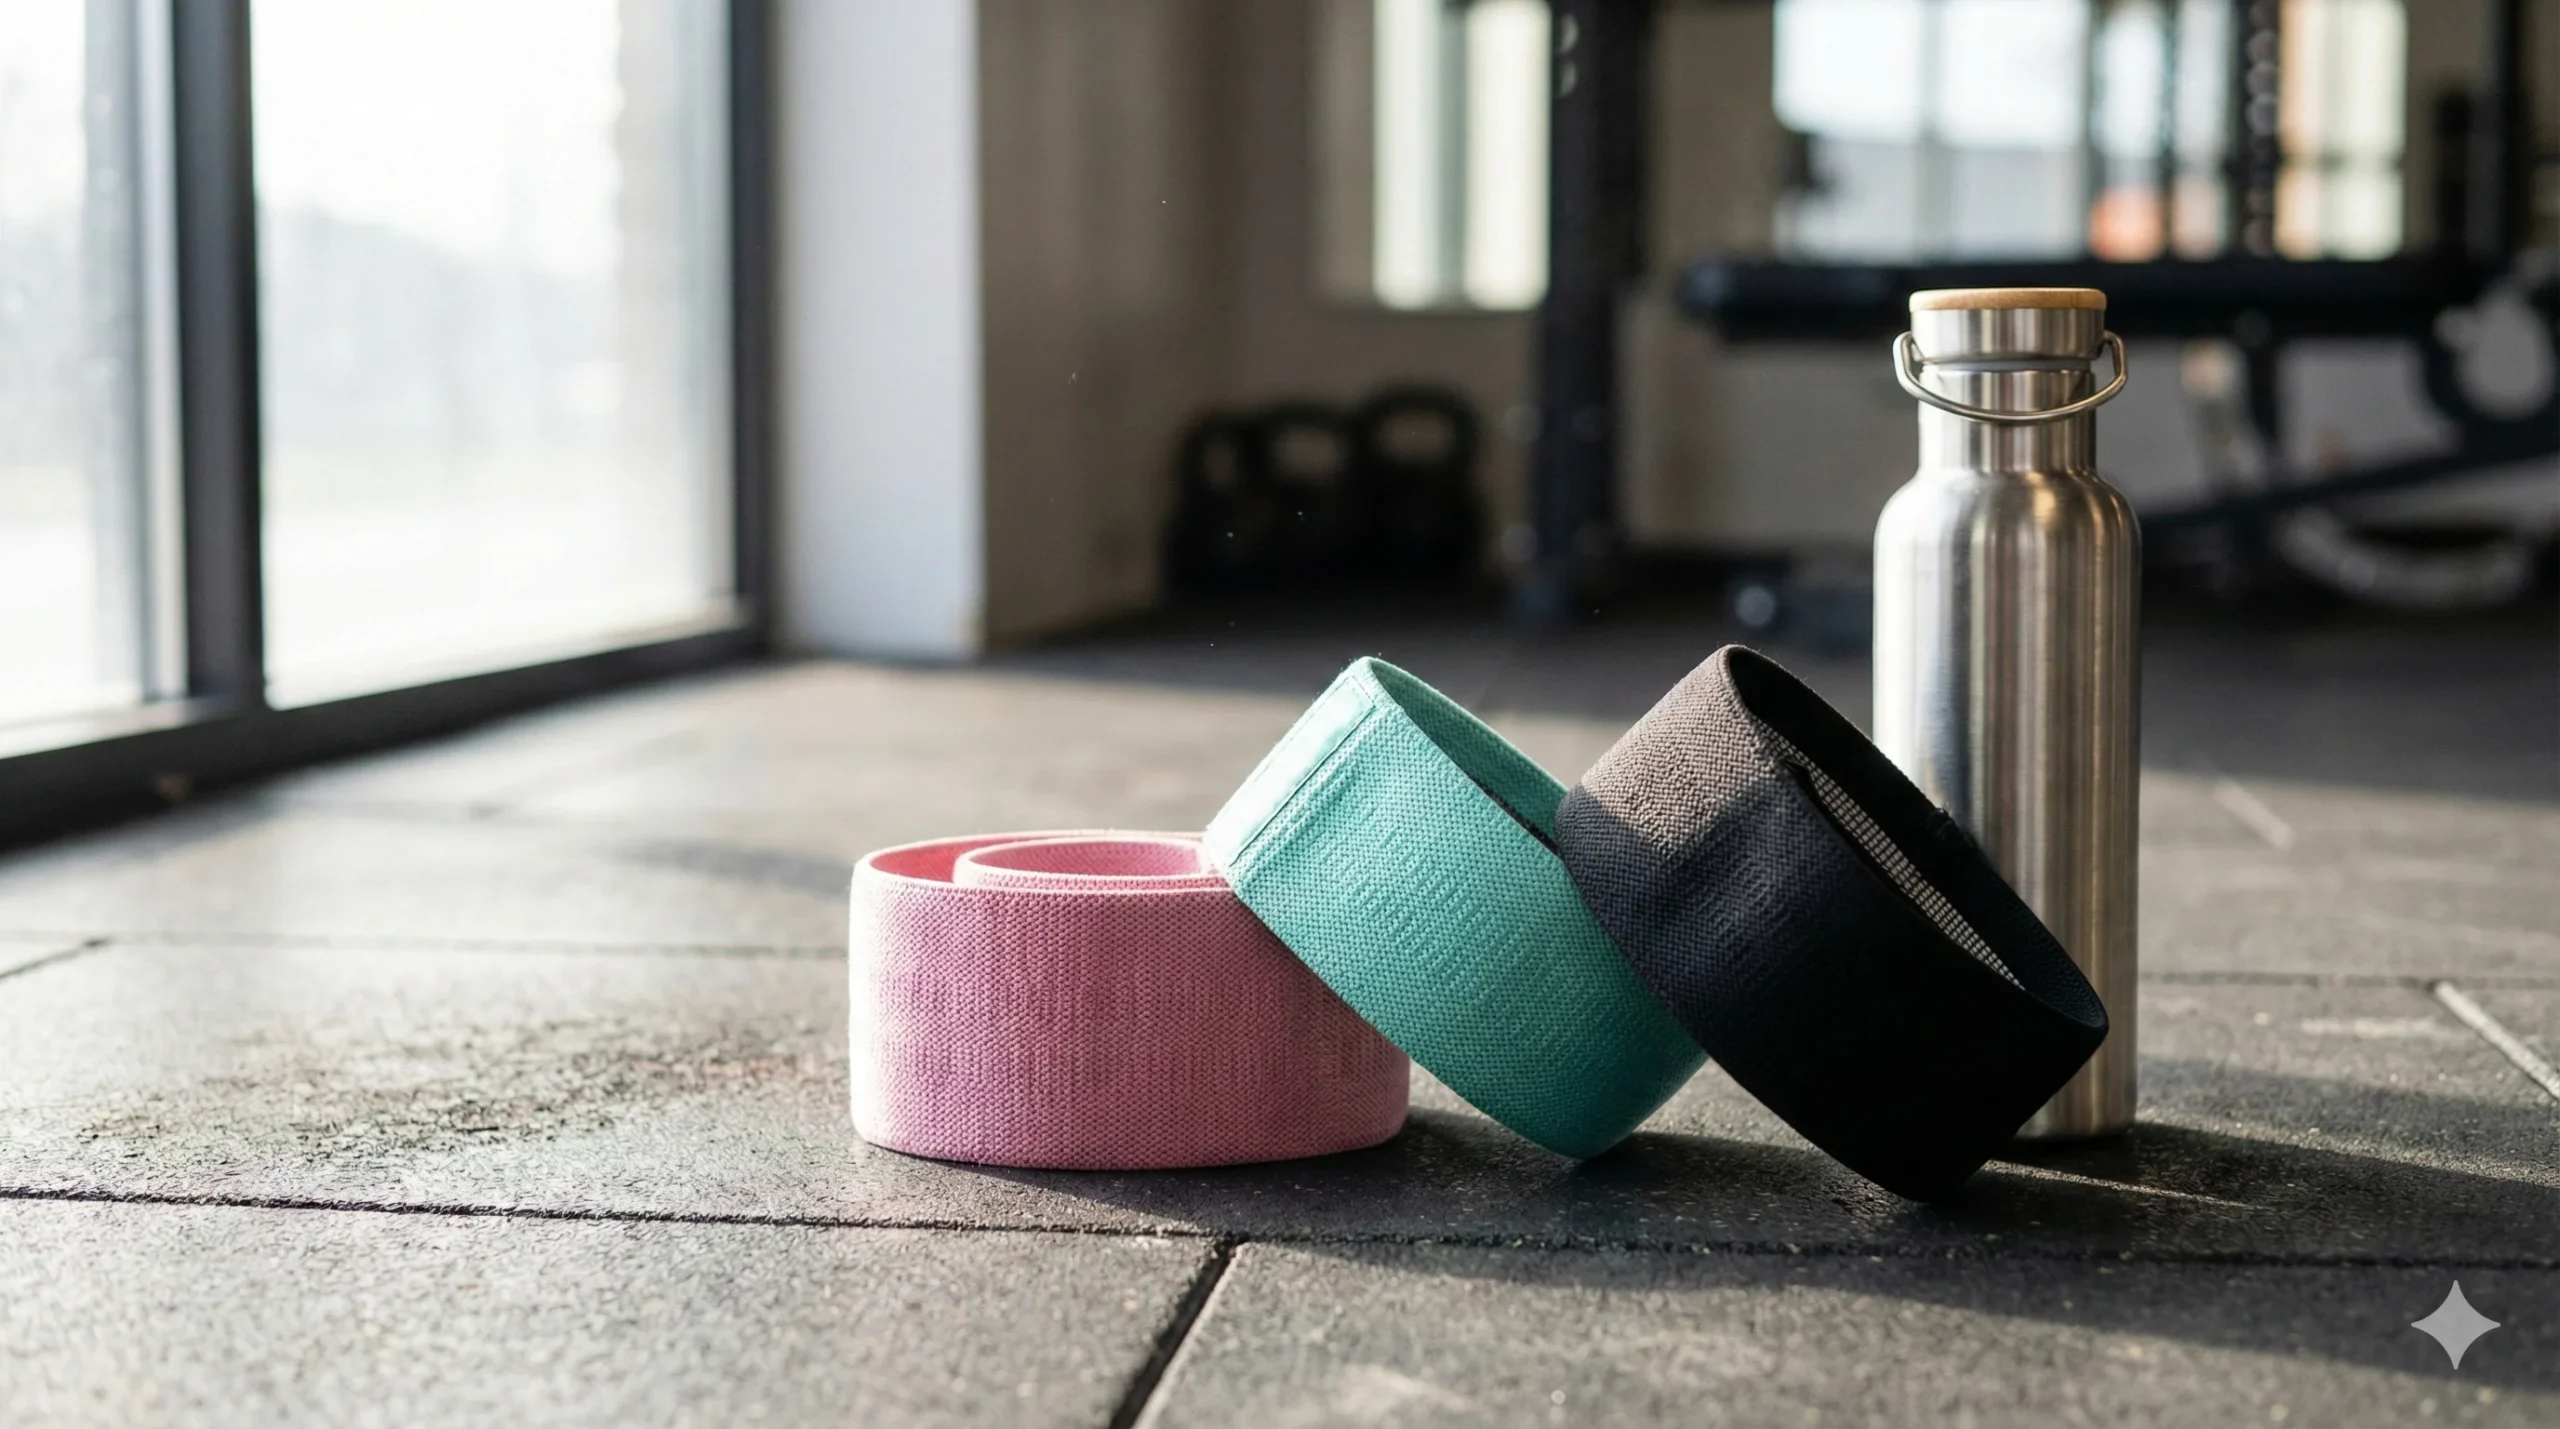
Fabric Resistance Bands
Rubber bands pinch skin. Get thick, fabric "booty bands". Using these forces you to push your knees out, recruiting the Glute Medius significantly more.
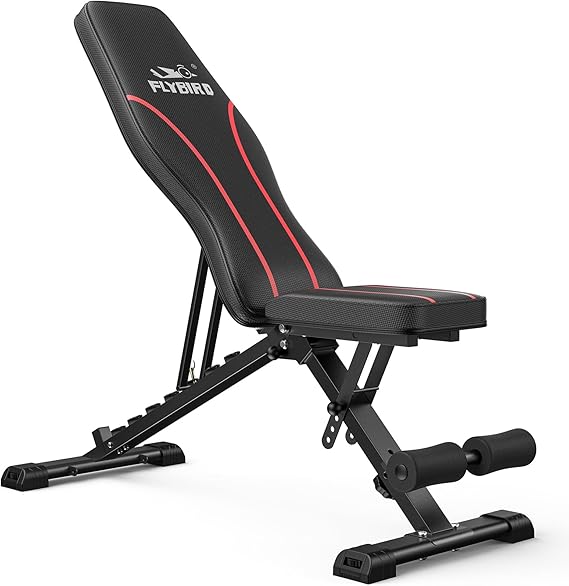
Stable Bench or Box
Couches are too soft. Ensure you have a plyo box or bench roughly 14-16 inches high—this is the biomechanically optimal height for most people.
*Prices and availability subject to change. As an Amazon Associate I earn from qualifying purchases.
FAQ: Common Glute Training Questions
Why do I feel Hip Thrusts in my quads? This usually means your feet are too close to your body. Slide them forward until your shins are vertical at the top. Also, ensure you are driving through your heels, not your toes.
Can I build glutes with just Glute Bridges at home? Yes, but you will eventually hit a plateau. Since the ROM is shorter and loading is harder without a barbell, you will need to do very high reps or single-leg variations to keep making progress. For maximum size, you eventually need the heavy load of a Hip Thrust.
Is the machine Hip Thrust better than the barbell? The machine is great for stability and ease of use (no setup time), making it excellent for dropsets or beginners. However, the barbell allows for a more natural path of motion and generally permits heavier absolute loading for advanced lifters.
Are Glute Bridges safer for lower back pain? Generally, yes. Because your back is supported by the floor, it prevents lumbar hyperextension (arching) which often happens in Hip Thrusts when the weight is too heavy. If you have back pain, master the floor bridge first.
Final Verdict
The debate of Hip Thrust vs. Glute Bridge isn’t about picking a winner; it’s about using the right tool for the job.
-
Want mass and strength? Prioritize the Hip Thrust.
-
Want isolation and pump? Use the Glute Bridge.
For the ultimate lower body development, use the Hip Thrust as your primary compound lift to build the foundation, and use the Glute Bridge as a high-rep finisher to sculpt the details.
Related posts: 🔥 You might also like…

Ashwagandha Benefits for Men: Testosterone, Stress, and What They Don’t Tell You
Ashwagandha Benefits for Men: Testosterone, Stress, and What They Don't Tell YouIf you search for...

Creatine Monohydrate: The Ultimate Guide to Benefits, Dosage, and Side Effects
Creatine Monohydrate: The Ultimate Guide to Benefits, Dosage, and Side EffectsCreatine Monohydrate...

Magnesium Glycinate vs. Citrate: Which is Best for Sleep? (The Ultimate Comparison)
Magnesium Glycinate vs. Citrate: Which is Best for Sleep? (The Ultimate Comparison)You are...